
Microsoft Store 中的 WSL 的发行说明
适用于 Linux 的 Windows 子系统的发行说明
 WSL常见问题
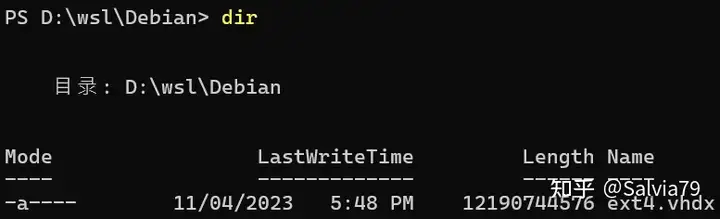
wsl -s Debian,将默认发行版设置为 Debian。 现在从 Powershell 运行 wsl npm init 将在 Debian 中运行 npm init 命令。 要在 PowerShell 或 Windows 命令提示符下运行特定的 WSL 发行版而不更改默认发行版,请使用命令 wsl -d ,将 替换为要使用的发行版的名称。

docker pull 命令从 Docker 镜像仓库中拉取镜像。例如,要拉取官方的 Ubuntu 镜像,可以执行以下命令:docker run 命令在容器中运行镜像。例如,要在 Ubuntu 镜像中运行一个交互式的 Bash 终端,可以执行以下命令:docker ps 命令查看正在运行的容器。默认情况下,它只显示正在运行的容器,如果要查看所有容器,可以添加 -a 参数。docker stop 命令停止容器的运行。你需要提供容器的 ID 或名称作为参数。docker rm 命令删除停止运行的容器。同样,你需要提供容器的 ID 或名称作为参数。docker images 命令查看已经下载到本地的镜像。docker rmi 命令删除不再需要的镜像。你需要提供镜像的 ID 或名称作为参数。/var/lib/docker;在 macOS 系统上,默认存储路径为/var/lib/docker;在 Windows 系统上,默认存储路径为C:\ProgramData\Docker。

该受信任根证书签发给了本地回环地址 127.0.0.1 一张证书,用于用户使用浏览器登陆 SSLVPN 过程中, 浏览器和SSLVPN客户端之间建立安全的https通信时使用。在系统中导入该受信任根证书,是为了消除证书告警,为用户提供更好的使用体验,避免无法正常使用浏览器方式登陆SSLVPN,无其他特殊用途。
1.该Sangfor Technologies Inc.根证书私钥信息保存在内网,并由专人保管,不会泄露出去。2.该Sangfor Technologies Inc.根证书只用于颁发给127.0.0.1 用于SSLVPN BS登陆使用,不会签发其它证书做其他用途。


$IP是你本机的IP,$SOCK5_HOST和$SOCK5_PORT是 Socks5 服务配置。稍等片刻,就能看到 EasyConnect 的登录界面了。-v ~/.config/bvpn:/root参数, 其含义是将~/.config/bvpn目录映射到容器的/root目录。EasyConnect 会把登录信息记录到/root/.config/bvpn/easy_connect.json,下次再登录的时候就不用重复填写了。(这也是 Hagb 同学为大家提供的便利)$SOCK5_PORT端口上获取一个 Socks5 代理服务。~/.ssh/config添加如下配置fcitx-autostart[2][6]。./code就可以打开vscode了[2]。参考资料
GET-CimInstance -query "SELECT * from Win32_DiskDrive"wsl --mount <DiskPath>wsl --mount command. First you need to identify the disk.\\.\PHYSICALDRIVE* format.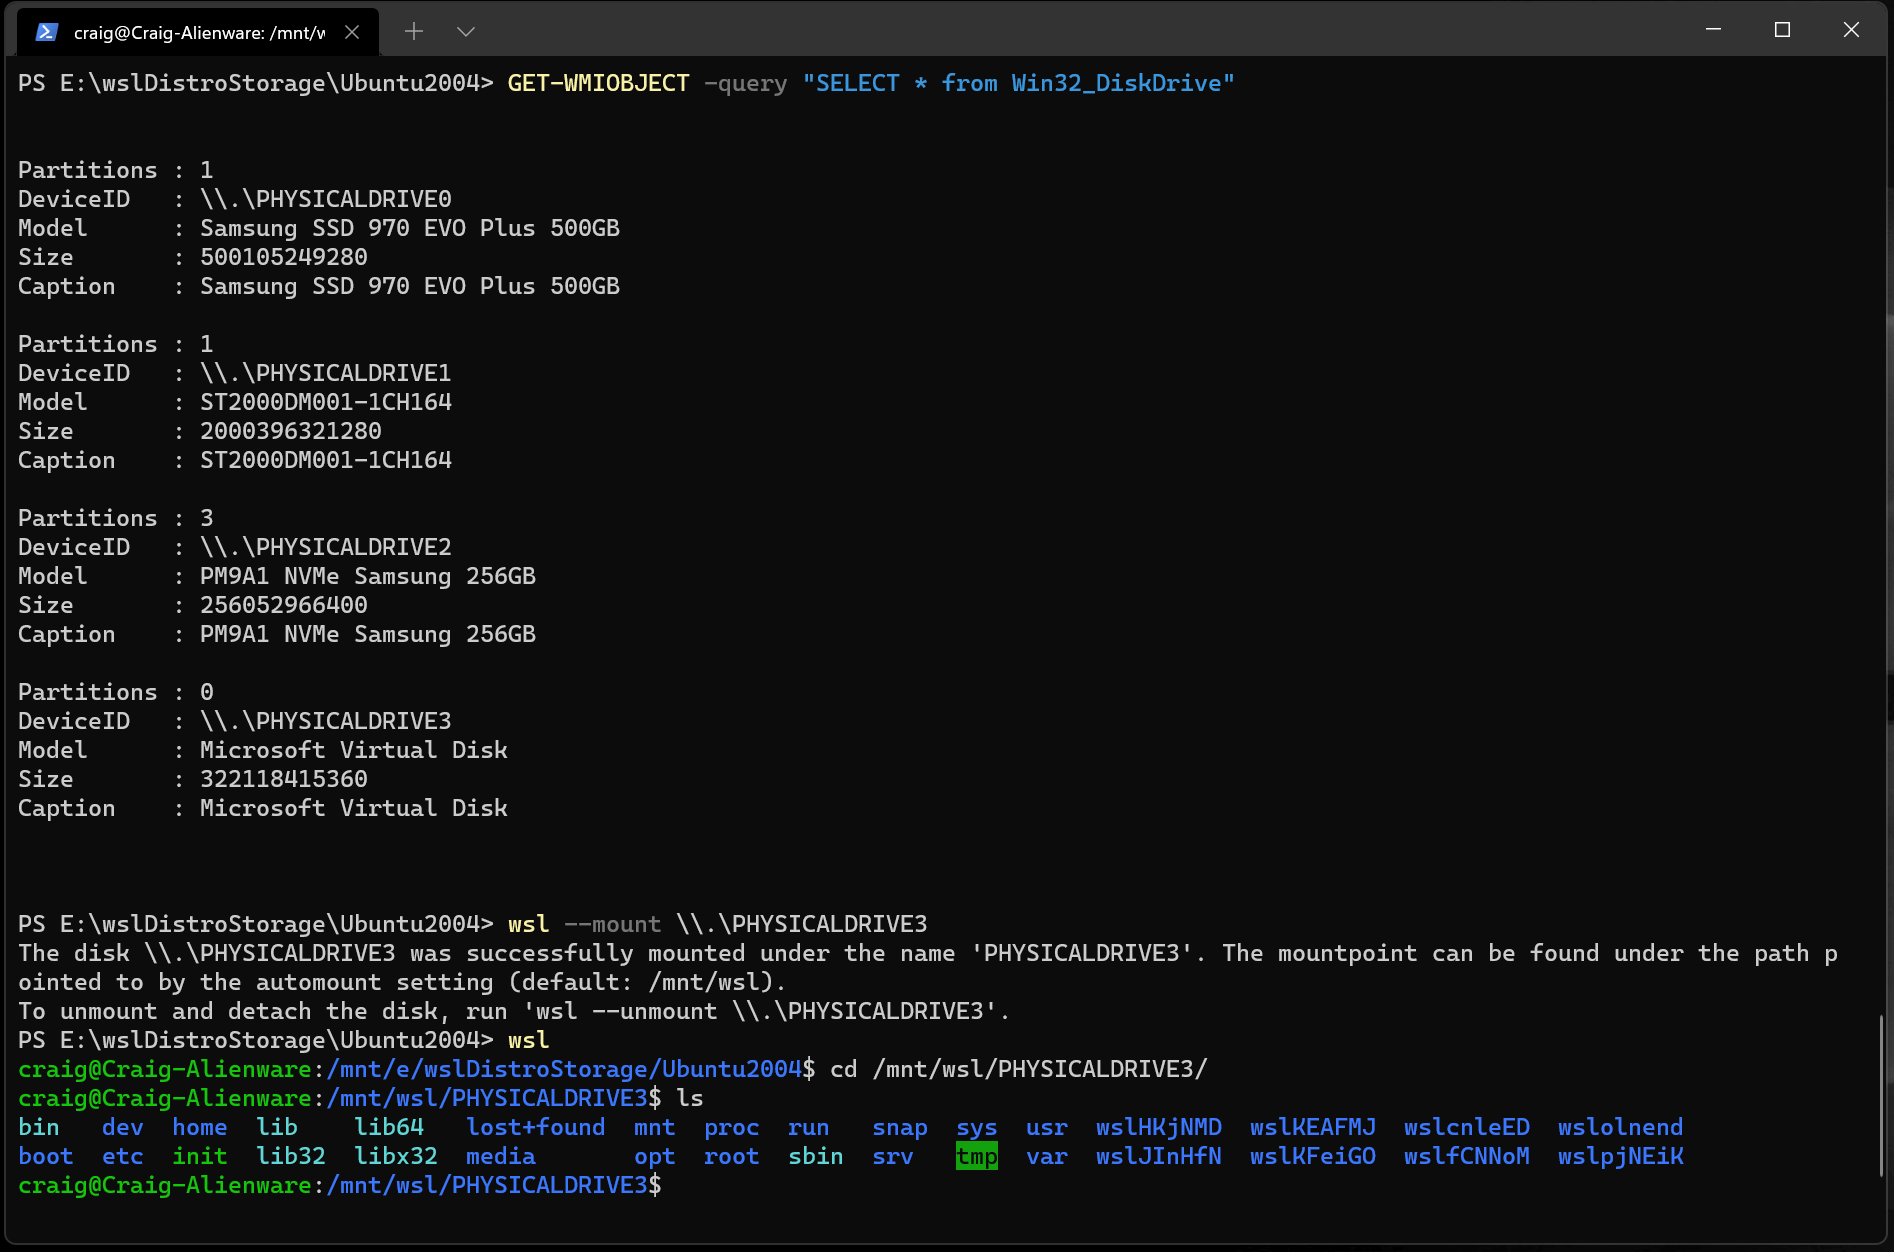
\\.\PHYSICALDRIVE* format.<DiskPath> is \\.\PHYSICALDRIVE*./dev/<Device><Partition>. For example, /dev/sdb3, is the partition number 3 of disk sdb.TYPE="<Filesystem>" format).--partition can be omitted.automount.root. The default value is /mnt/wsl.\\wsl$\\<Distro>\\<Mountpoint> (pick any Linux distribution).wsl --mount --vhd <pathToVHD>wsl --mount. To do this, you first need to mount the VHD into Windows using the Mount-VHD command in Windows. Be sure to run this command with administrator privileges. Below is an example where we use this command, and also output the disk path. Be sure to replace <pathToVHD> with your actual VHD path.ext4.vhdx. By default the VHDs for WSL 2 distros are stored in this path: C:\Users\[user]\AppData\Local\Packages\[distro]\LocalState\[distroPackageName], please exercise caution accessing these system files, this is a power user workflow. Make sure to run wsl --shutdown before interacting with this disk to ensure the disk is not in use.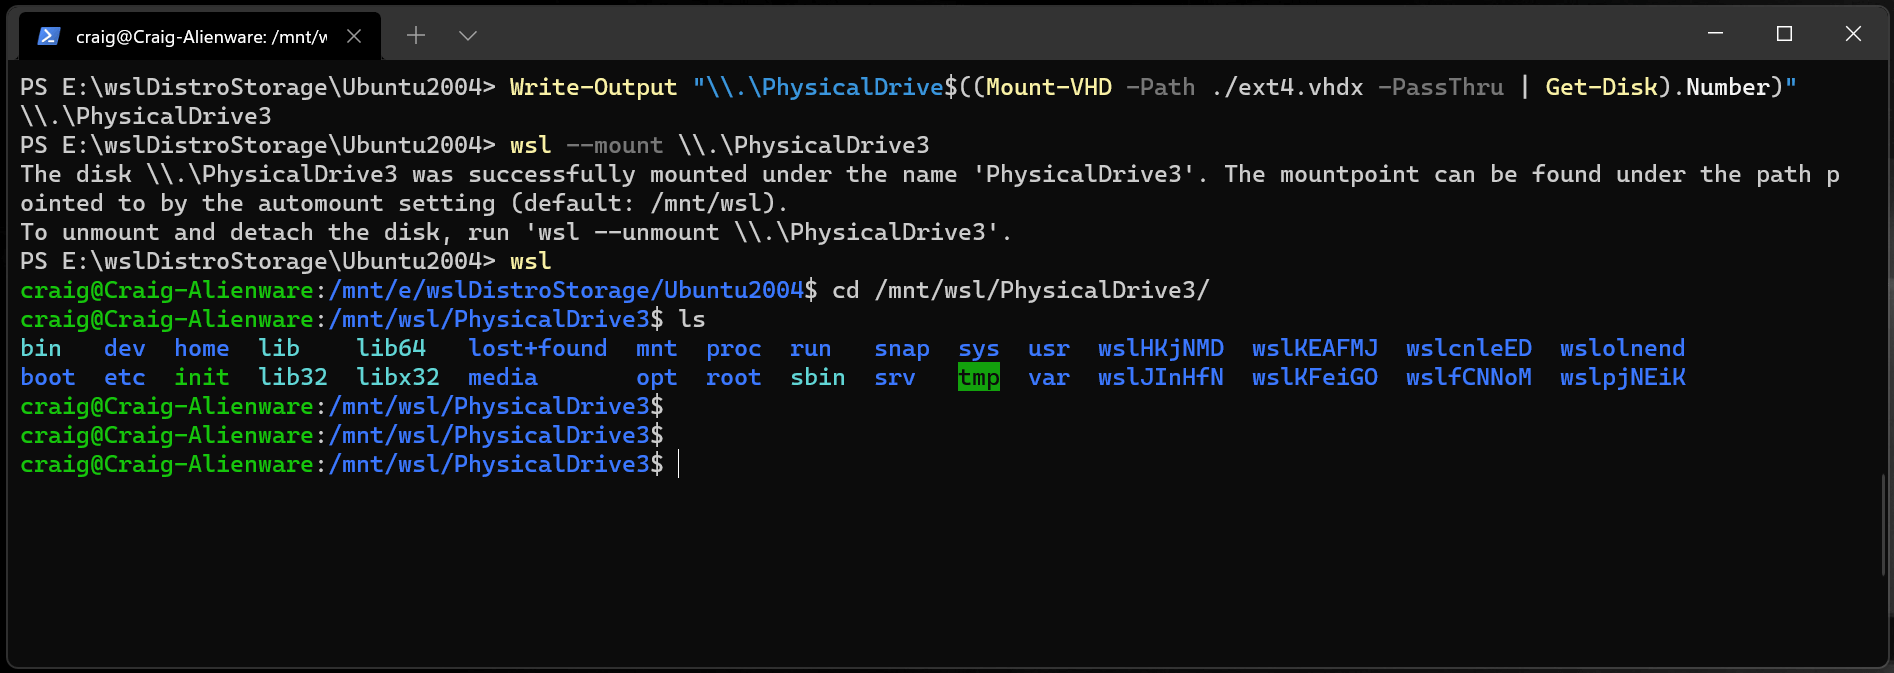
cat /proc/filesystemsMicrosoft Store 中的 WSL 的发行说明
适用于 Linux 的 Windows 子系统的发行说明